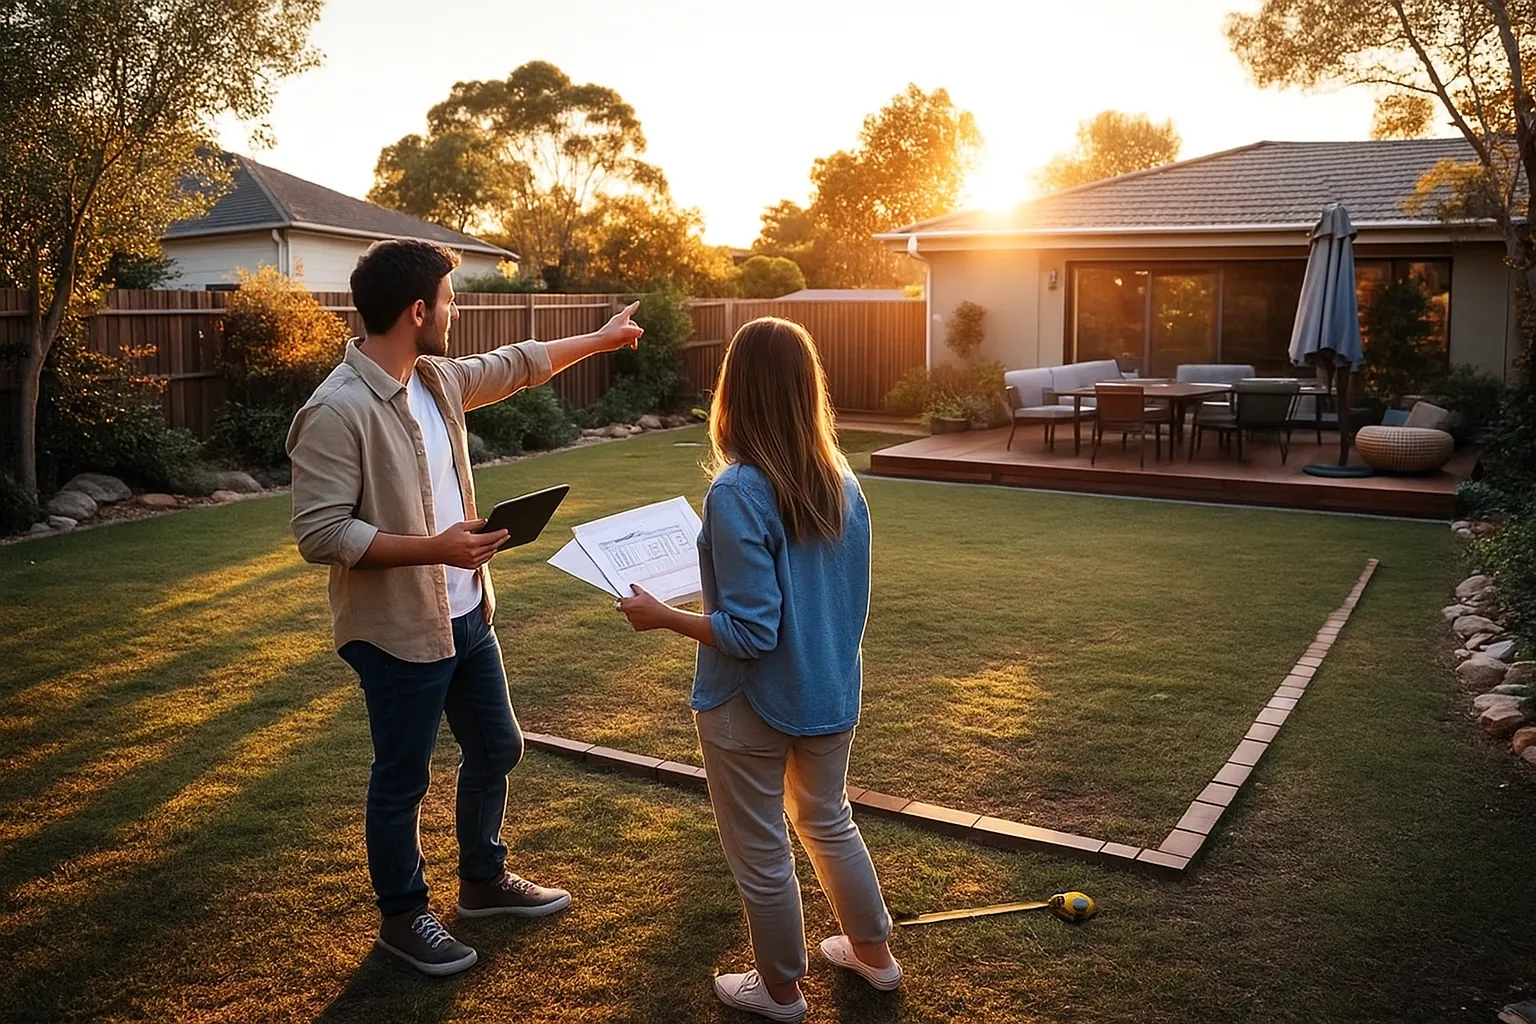
You’ve been dreaming about a pergola for months. You’ve scrolled through photos, measured the yard, and priced out materials. But now you’re stuck trying to work out what comes first.
Location? Size? Materials? Each choice seems to depend on the others, which makes it easy to second-guess every decision.
Which is why this guide gives you a simple order to follow so the planning feels clear instead of confusing. You’ll learn how to choose the right spot, pick the right size, and match your materials to your budget before you start building.
What Do You Actually Want Your Pergola to Do?
Your pergola should serve the main function you have in mind. It could create a shaded spot for weekend barbecues, frame a relaxing seating area, or support climbing plants. Before you pick a location or buy materials, be clear about the job this structure needs to do, because each purpose affects the design and placement.
Here’s how different purposes shape your planning:
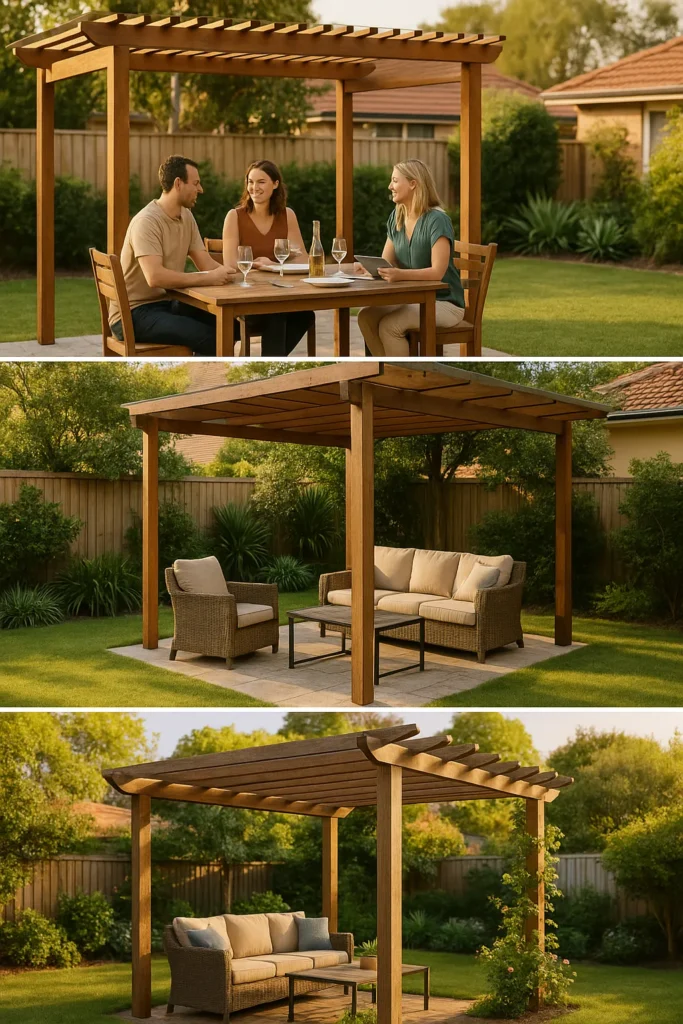
- Dining and Entertaining Spaces: If hosting is your thing, you’ll need room for tables, chairs, and people to move around comfortably. Most dining pergolas start at 12×12 feet, though bigger backyards can handle 14×16 or larger. String lights overhead turn these spaces into evening hangouts, and the structure makes your backyard feel like an outdoor room.
- Shade-Focused Pergolas: Looking to escape the afternoon sun? Place your structure where it blocks the harshest heat. A solid roof delivers full shade, while an open framework gives you dappled sunlight. Or go with climbing plants for natural shade that improves as the vines grow in.
- Garden Accent Structures: These smaller pergolas work beautifully as decorative elements without taking over your patio. They support climbing plants, frame garden paths, or create focal points.
A pergola built for shade won’t work if you actually need an outdoor dining room, so nail down your purpose first. Once you’ve figured that out, picking the right location becomes way easier.
Picking the Perfect Location in Your Backyard Space
Getting the location right from the start saves you from expensive relocations and ensures your outdoor structure actually gets used. To choose the best spot, consider how microclimates, underground utilities, and sun patterns in your backyard will affect your pergola.
Three big factors will guide this decision:
Freestanding or Attached to Your Home
Attached pergolas work best when you want easy access from your house. So you can step out your back door directly onto a covered patio or deck.
Freestanding structures make sense when you’re placing a pergola by the pool, in a garden corner, or anywhere away from the house. You get flexibility to anchor those distant backyard spots without modifying your home’s exterior.
Another advantage of attached designs is that the running electricity for lights doesn’t require trenching power lines across your entire yard (trust us, that gets expensive fast).
Sun Exposure and Shade Patterns
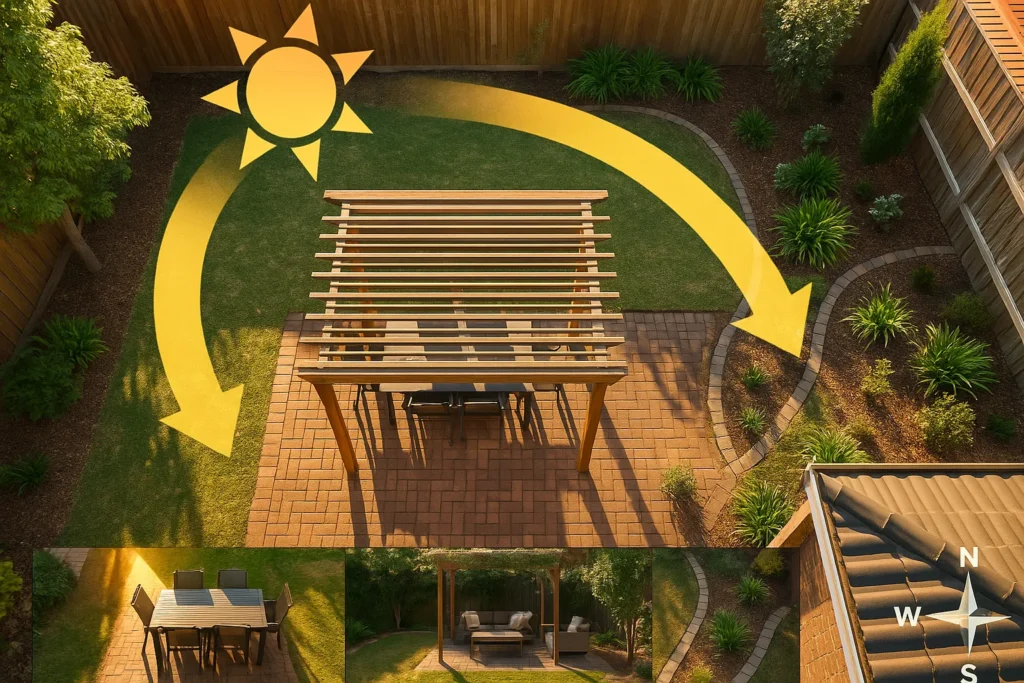
The direction of the sun determines when your pergola feels comfortable. That gorgeous west-facing spot will turn into a sauna by 4 PM in July.
By contrast, east-facing locations catch pleasant morning sun and stay cooler as afternoon temperatures climb, while the southern side offers the most consistent light year-round. The only downside? You may need adjustable louvers to handle the sun’s changing angle between seasons.
Of course, sun direction is only half the equation. You also need to decide how you’ll actually create shade. A solid roof provides full protection from the sun and rain. If you want that dappled sunlight effect, an open framework works best. Want natural shade? Train climbing vines over the top, which improves as the plants grow and mature.
Available Space and Ground Conditions
Remember to check what’s underground before you pick a spot. Hit a sprinkler line or electrical conduit three feet down, and you’re looking at repair costs on top of your pergola budget. Don’t worry, though; a contractor can help identify these.
For cold-weather regions, frost depth requirements determine how deep your footings need to go to prevent winter heaving. Most areas also require structures to sit at least 3-5 feet from property lines, though some neighborhoods have stricter setback rules.
Beyond clearances, pay attention to the actual ground conditions where you’re building. Flat, stable ground makes installation straightforward, while sloped soil means extra prep work and higher costs.
Before you dig, contact your local utility company to get underground lines marked. It’s free and prevents you from accidentally cutting into gas, electric, or water service.
Selecting a Style That Complements Your Home
Walk past a home where the pergola looks like an afterthought, and you’ll immediately understand why matching your structure to your home’s style is worth the effort.
Once you start comparing options, you’ll notice that the best-looking pergolas echo the architecture around them. From our installations across Naperville and Hinsdale, the structures that blend best are the ones that pick up on a home’s existing lines and materials.
Traditional wood pergolas with decorative brackets suit colonial and craftsman homes beautifully. Cedar or redwood adds natural warmth and ages in a way that feels consistent with those styles.
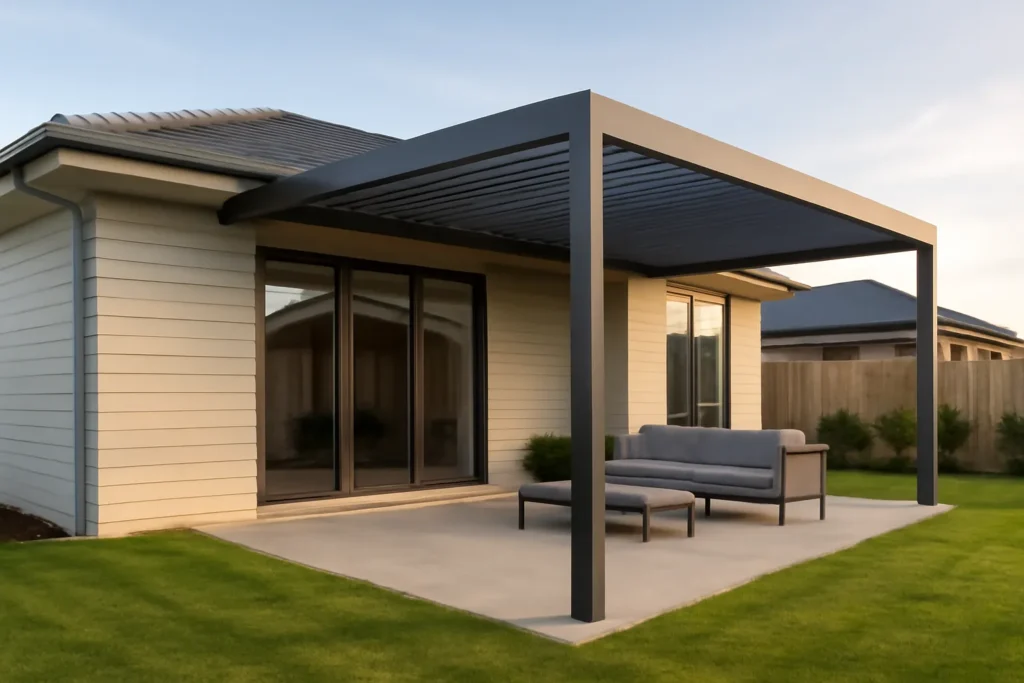
For more modern properties, clean-lined aluminum pergolas work better. Their slim profiles and minimal ornamentation match contemporary architecture. Similarly, rustic cedar with natural finishes pairs well with ranch-style homes and woodland settings where a more organic look makes sense.
Materials Guide: Balancing Look, Longevity, and Budget
The right material choice means you’ll get to spend your weekends enjoying your pergola instead of maintaining it. Each option balances upfront cost against ongoing work and longevity. Knowing the trade-offs shows what you actually get with each choice.
Let’s compare what you’re actually getting with each material:
| Material | Cost | Maintenance | Longevity | Best For |
| Pressure-Treated Pine | $1,500-$3,500 | High (stain every 2-3 years) | 15-20 years | Budget-friendly start, ongoing work required |
| Cedar/Redwood | $3,500-$6,000 | Medium (seal every 3-4 years) | 20-25 years | Natural rot resistance, ages to silver-gray |
| Aluminum | $5,000-$10,000 | Very Low (occasional cleaning) | 30+ years | Modern look, won’t warp or rot |
| Vinyl/Composite | $4,500-$8,500 | Very Low (hose down yearly) | 25-30 years | Mimics wood grain, handles weather well |
If you’re working with a tight budget, pressure-treated pine gets your backyard structure started for less money. The trade-off is regular staining every few years to prevent rot and weather damage.
Cedar and redwood offer a middle ground with natural protection built in, though they still need occasional sealing to keep their look. On the other hand, aluminum and vinyl cost more upfront but eliminate the maintenance cycle completely.
These materials handle harsh weather conditions without degrading, which makes them low-maintenance options for homeowners who’d rather use their outdoor space than constantly work on it.
What You Need to Know About Permits and Local Regulations

Most municipalities require permits for structures over 120 square feet or exceeding 12 feet in height. These rules are based on local building codes, which often follow the International Residential Code from the International Code Council (ICC). That means you’ll need a permit even for your own backyard.
Homeowners’ associations often have their own guidelines about colors, materials, and placement. Plus, some neighborhoods restrict certain styles or require approval for any backyard structures.
Pro tip: Check local regulations early because violations can force expensive changes after construction.
Planning for Features That Make Your Outdoor Space Shine
Once you’ve picked your pergola’s location and materials, it’s time to plan the extras that make the space practical and enjoyable.
Here’s what to focus on:
- Foundation and Posts: Want a pergola that stays sturdy for years? Start with a solid base. Pergola posts need secure anchoring, whether attached to concrete with lag screws or set directly in the ground.
- Electrical Wiring and Lighting: Perfect for evening dinners or cozy nights outdoors. Ceiling fans, outlets, and string lights are far easier to install during construction than after the pergola is finished.
- Privacy Screens: Create a backyard retreat with the right screens. They block views from neighbors while keeping air flowing.
- Drainage: Water pooling under a pergola can cause long-term problems. Slope the ground slightly away from the structure or add a gravel base to let water drain naturally.
Together, these features make your pergola functional, comfortable, and inviting in every season.
Bring Your Backyard Vision to Life
Now you know what your pergola needs to do, where it should go, and which materials fit your budget. The construction process becomes simpler once these foundational decisions are in place.
Start building with confidence, or work with experienced professionals who can turn your plan into reality. Either way, you’re creating an outdoor space that transforms how you use your backyard.
If you need expert help bringing your vision to life, we’re here for you. Visit Paper Crown Gallery to explore custom pergola options and get started today.