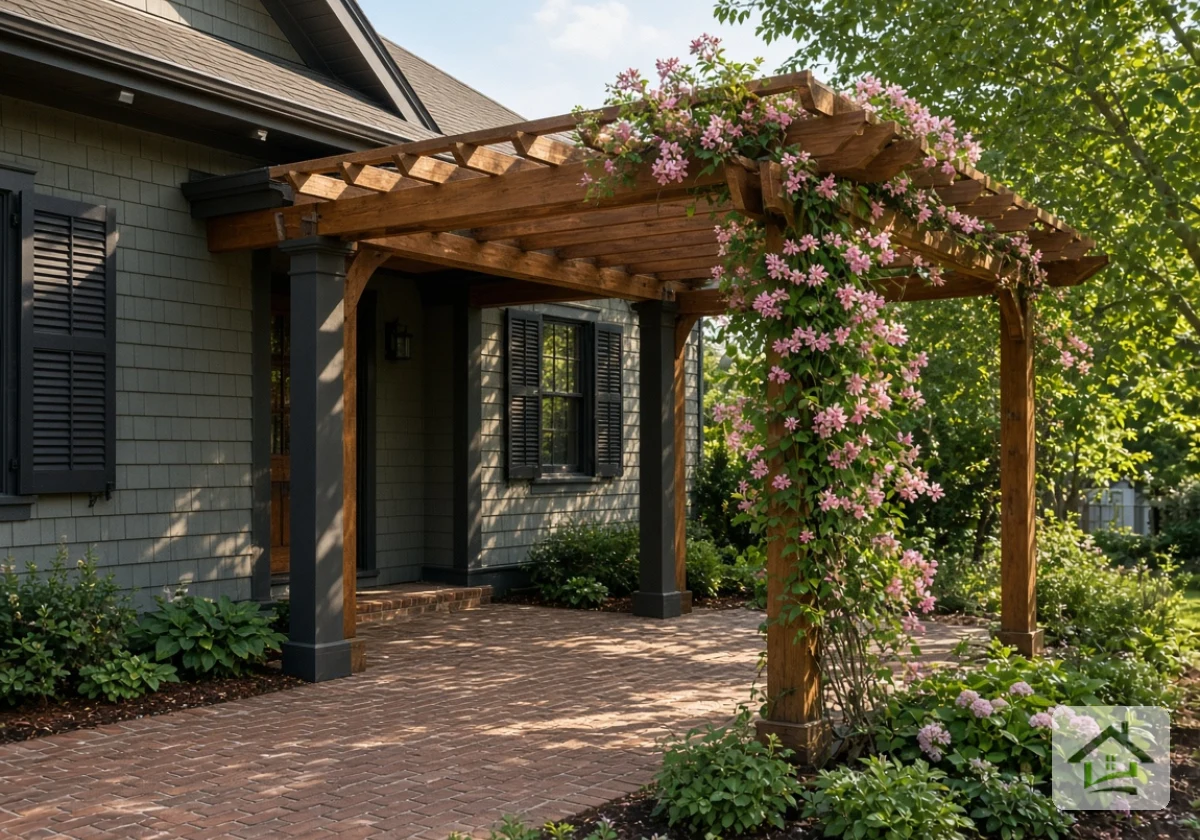
Your Pergola Meets the House Wall: What Should Be Planned at the Connection Point?
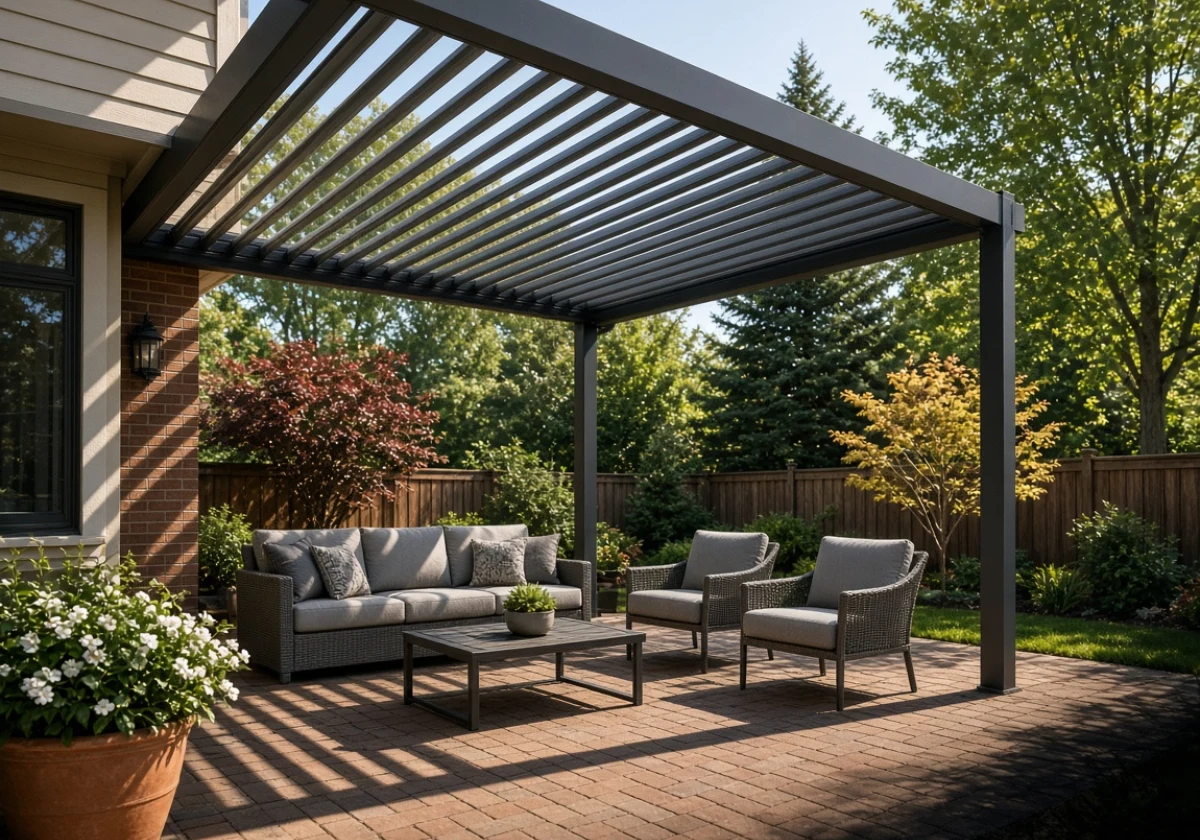
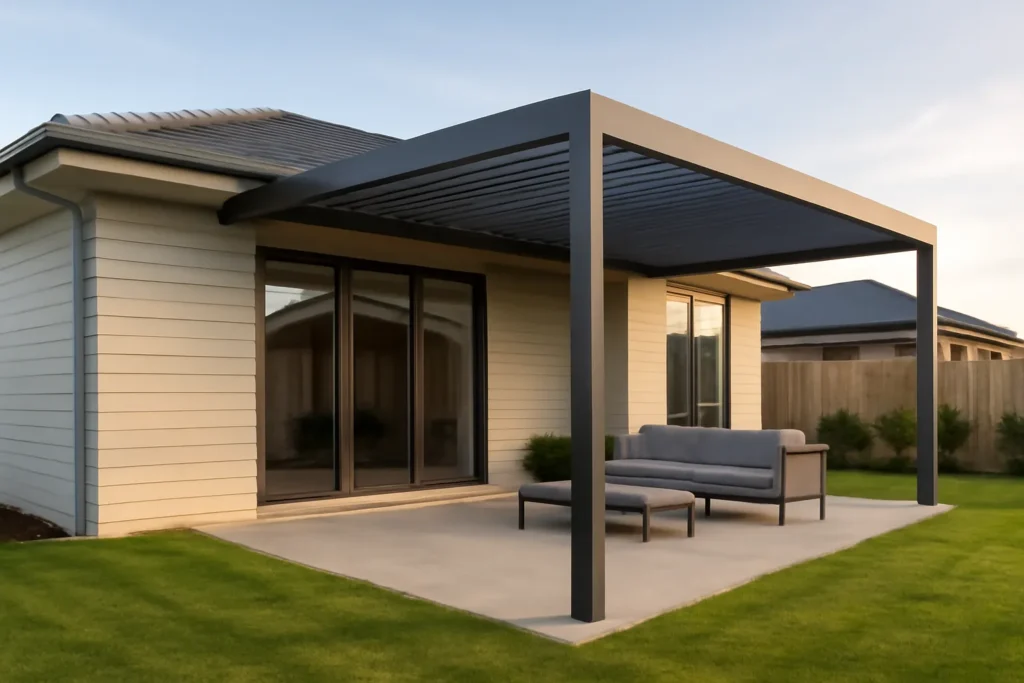
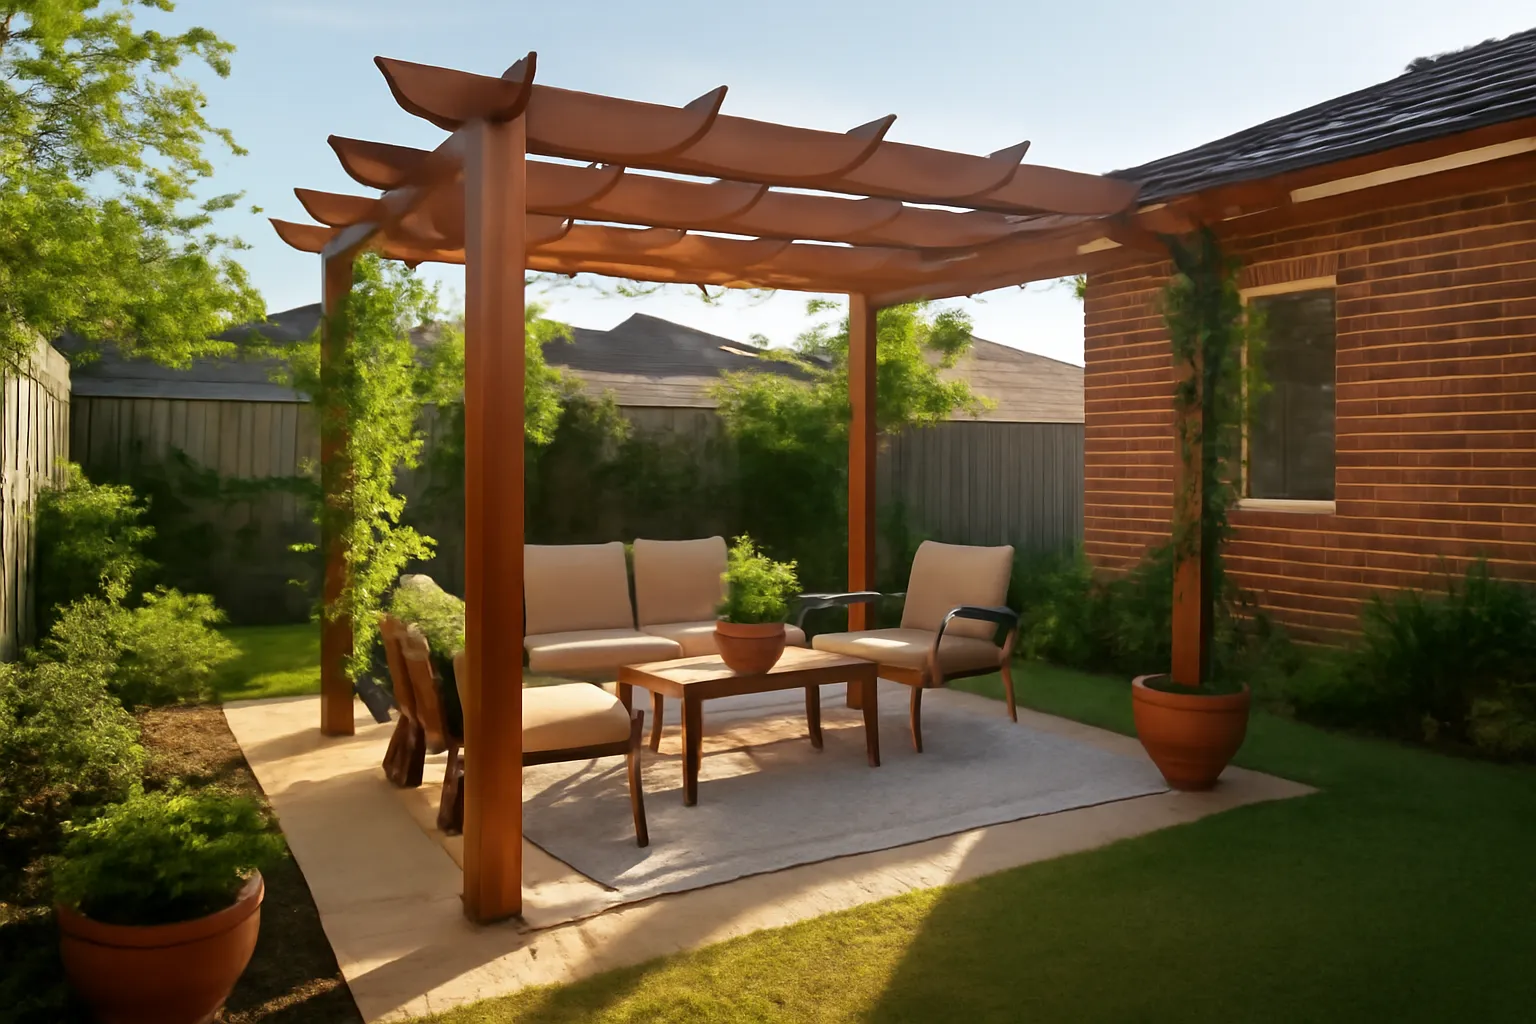
At the connection point, plan the ledger, its fasteners, the flashing above it, and the path rain takes off the roof. An attached pergola uses your house wall as one of its supports, so that joint carries one whole side of the structure.
Many problems on a pergola attached to house siding start right there. A ledger screwed only into siding can pull loose, and a wet gap behind it slowly rots the framing. Homeowners exploring retractable pergolas from Paper Crown Gallery should consider these wall connection details before settling on a design.
This guide covers framing, fasteners, flashing, ledger height, and brackets. You’ll also learn how to manage drainage and choose between attached and freestanding designs.
The Ledger Board: How Attached Pergolas Carry Their Load
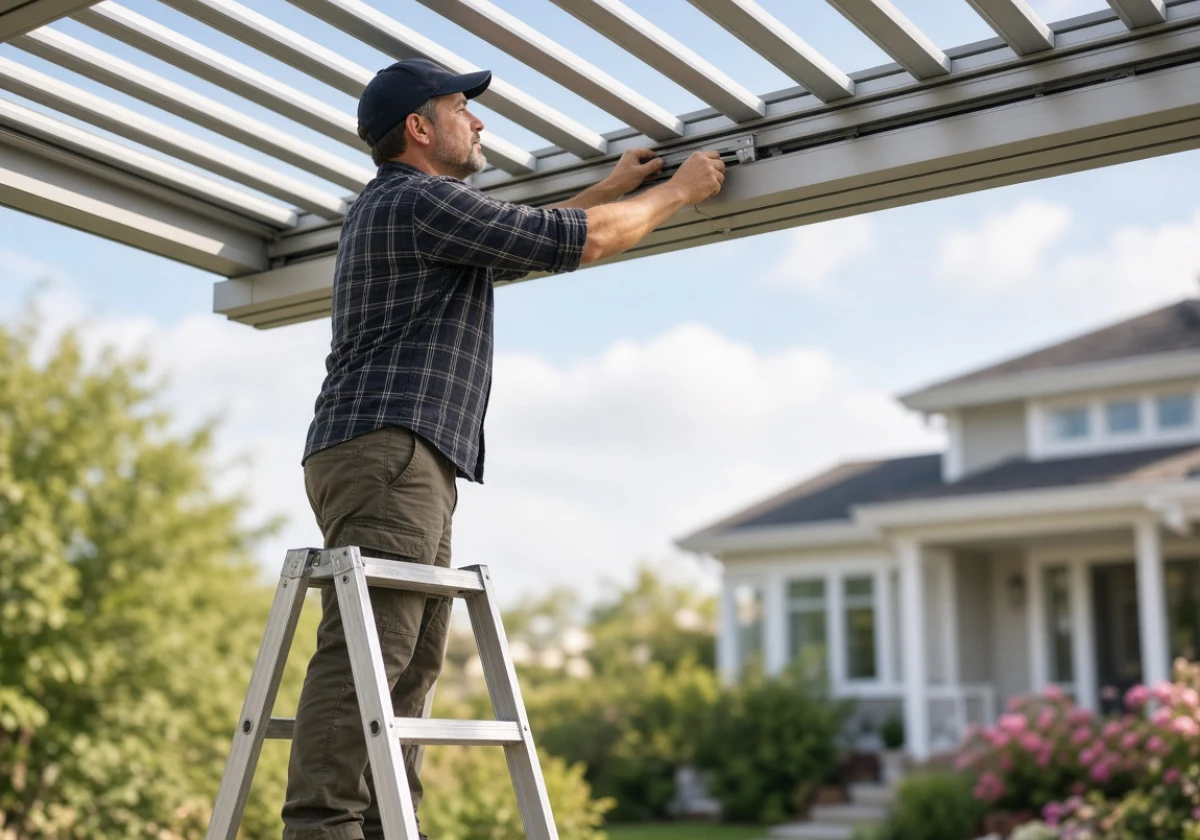
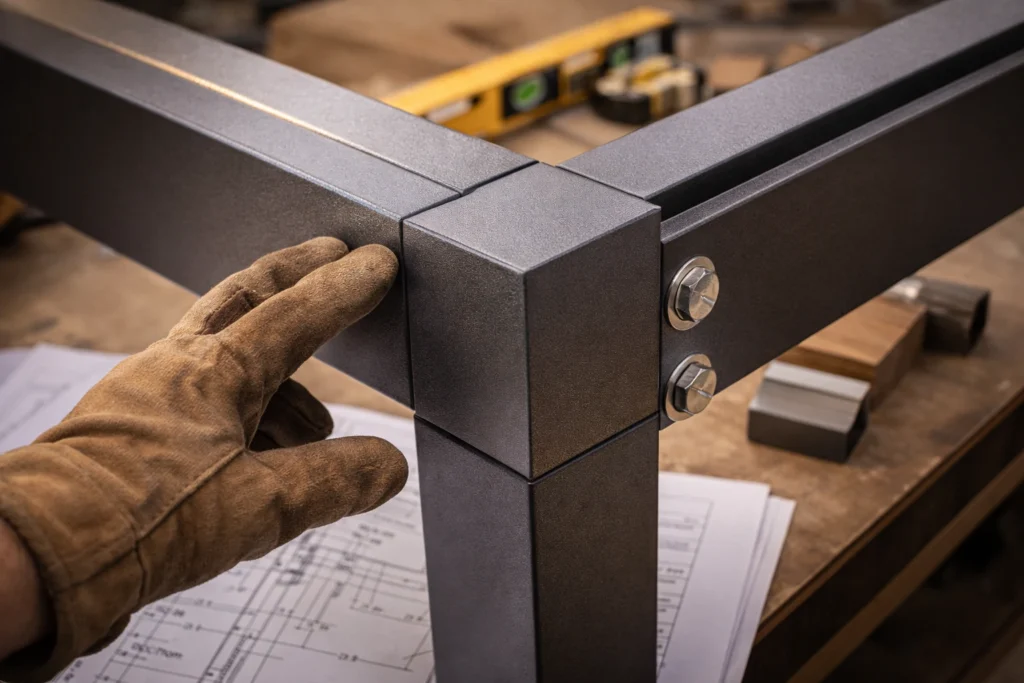
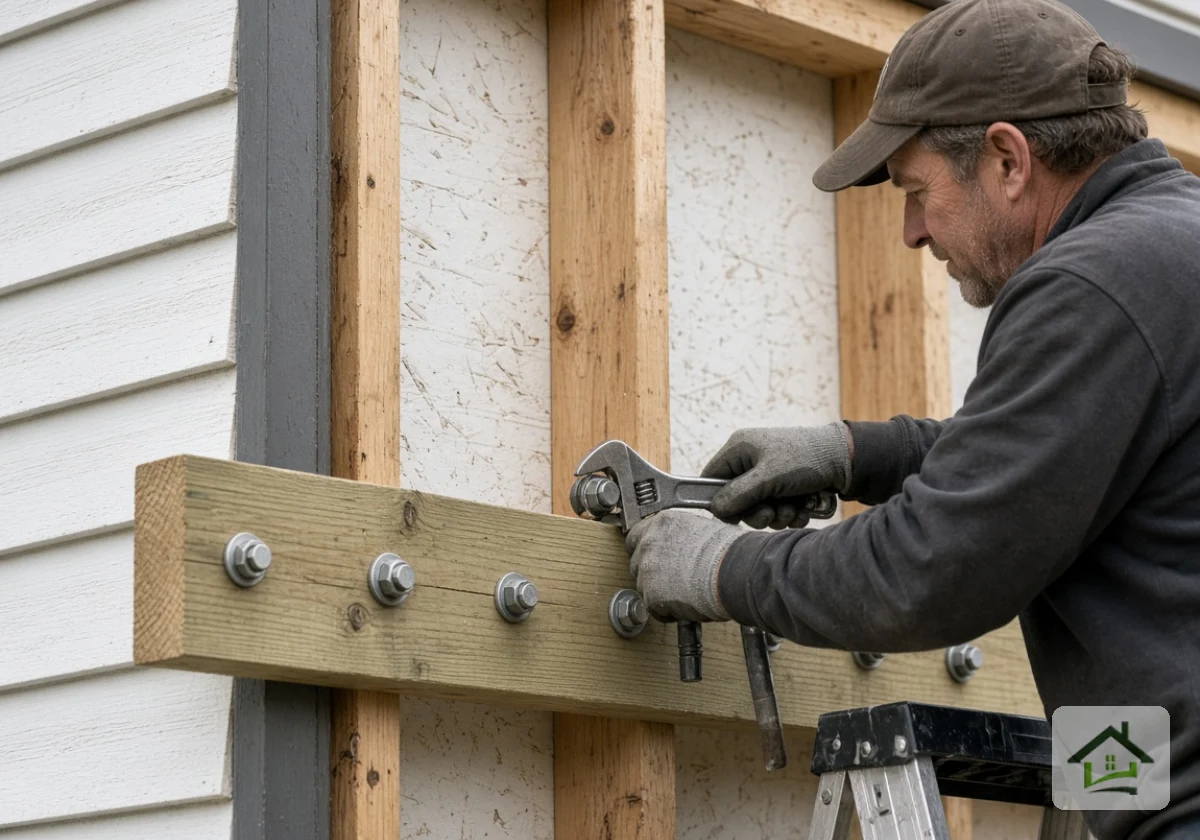
The ledger is the horizontal board bolted to your home that holds one end of every rafter. Because it supports part of the roof load, it needs solid framing, secure fasteners and a dry gap around it.
Below, we’ve explained the five decisions that determine a safe ledger connection. Get each one right, and you can install an attached pergola that stays tight to the wall:
Finding the Rim Joist or Studs to Maximise Your Outdoor Space
Siding and sheathing can’t carry that load, so every fastener has to bite into the rim joist or wood framing behind them. In a two-story home, the second-floor rim joist often sits right where a ledger wants to go.
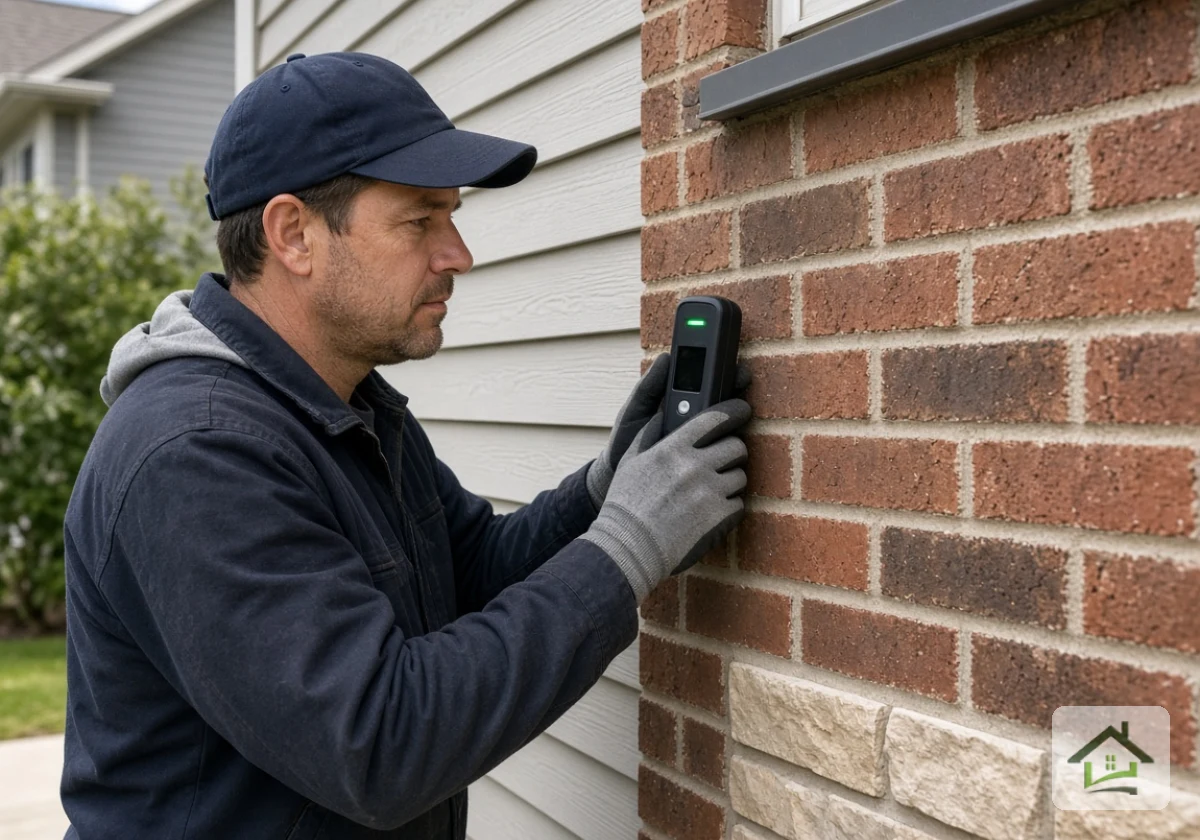
To find studs, run a stud finder along the wall and check for hidden wiring and plumbing. Confirm the framing location before drilling a test hole. This helps you mark the correct attachment points.
Next, snap a chalk line across those marks. The line becomes your fastener layout, so check it twice against the ledger before any bit touches the wall.
Lag Bolts vs. Structural Screws for a Wall-Mounted Pergola
Both lag screws and structural screws are options for securing a ledger, but each has different installation requirements. The 2025 Simpson Strong-Tie ledger guidance permits ½-inch lag screws with washers for deck ledgers. Pergola fasteners must suit the structure’s loads and framing.
Structural screws offer another option. Some don’t need pre-drilling except near ledger ends, although installers must follow the manufacturer’s instructions.
Fastener spacing and placement depend on the ledger design and expected loads. You should follow the approved installation details to avoid weak connections or damage to the wood.
Flashing and Spacers That Keep the Ledger Off the Home
Water trapped at the pergola-to-house joint rots both the ledger and the siding over time. So, Z-flashing tucked under the siding above the board sends rain over the ledger’s face instead of behind it.
On top of that, spacers hold the ledger slightly off the wall so the gap dries after storms. In North Carolina’s humid summers, that airflow keeps mildew from settling behind the wood.
On retrofit jobs, the flashing step often takes longer than hanging the ledger (peeling vinyl siding back neatly takes real patience). Budget extra time for it rather than rushing the cuts.
Ledger Height, Door Clearance, and the Roof Eave Above
Your door, wall lights, and the roof eave all compete for the same stretch of wall. You’ll probably find that space tighter than it looks from the patio.
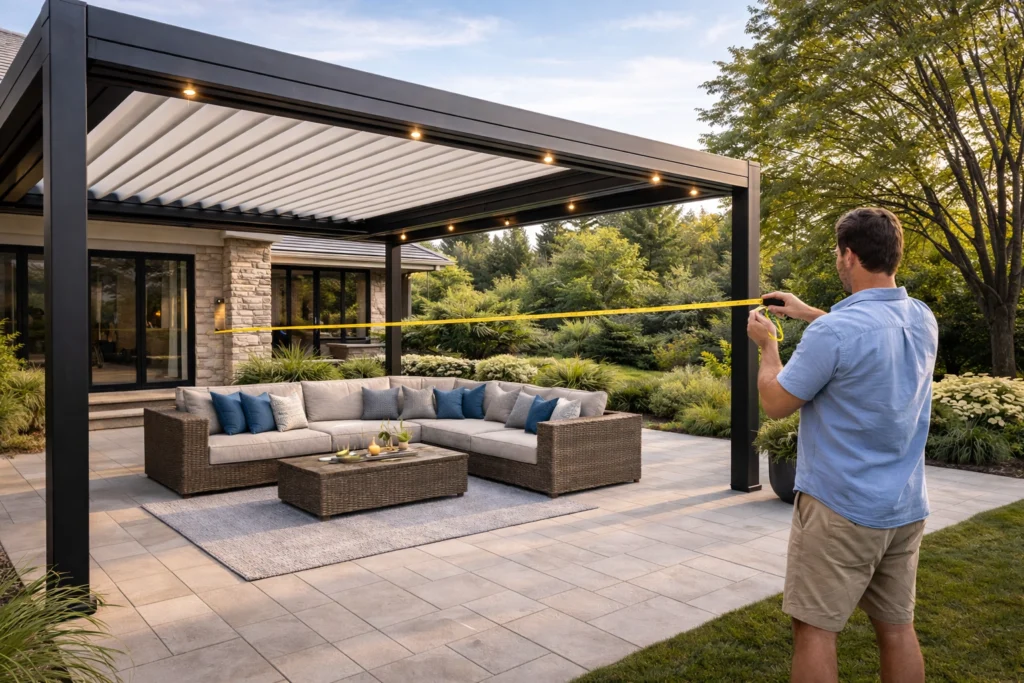
So, measure from the top of the door trim to the underside of the soffit before ordering anything. This gap has to fit the ledger plus enough rafter slope for runoff.
If the measurements fall short, a standard wall mount won’t work. Riser brackets provide an alternative in these cases.
Modern Pergola Riser Brackets for Low Eaves and Odd Wall Angles
Some pergola riser brackets attach to roof framing and raise the pergola above a low eave. Depending on the design, they help a custom pergola clear gutters without cutting into the soffit.
Certain bracket systems also accommodate unusual roof angles, allowing a smooth transition between the roofline and pergola structure. However, they need suitable structural support. A qualified installer should check the roof framing and bracket specifications before installation.
Before ordering, send photos and eave measurements to the supplier. Ask them to confirm the bracket size, attachment requirements, and suitability for your roof.
How Do You Handle Pergola Drainage So Water Never Reaches the Siding?
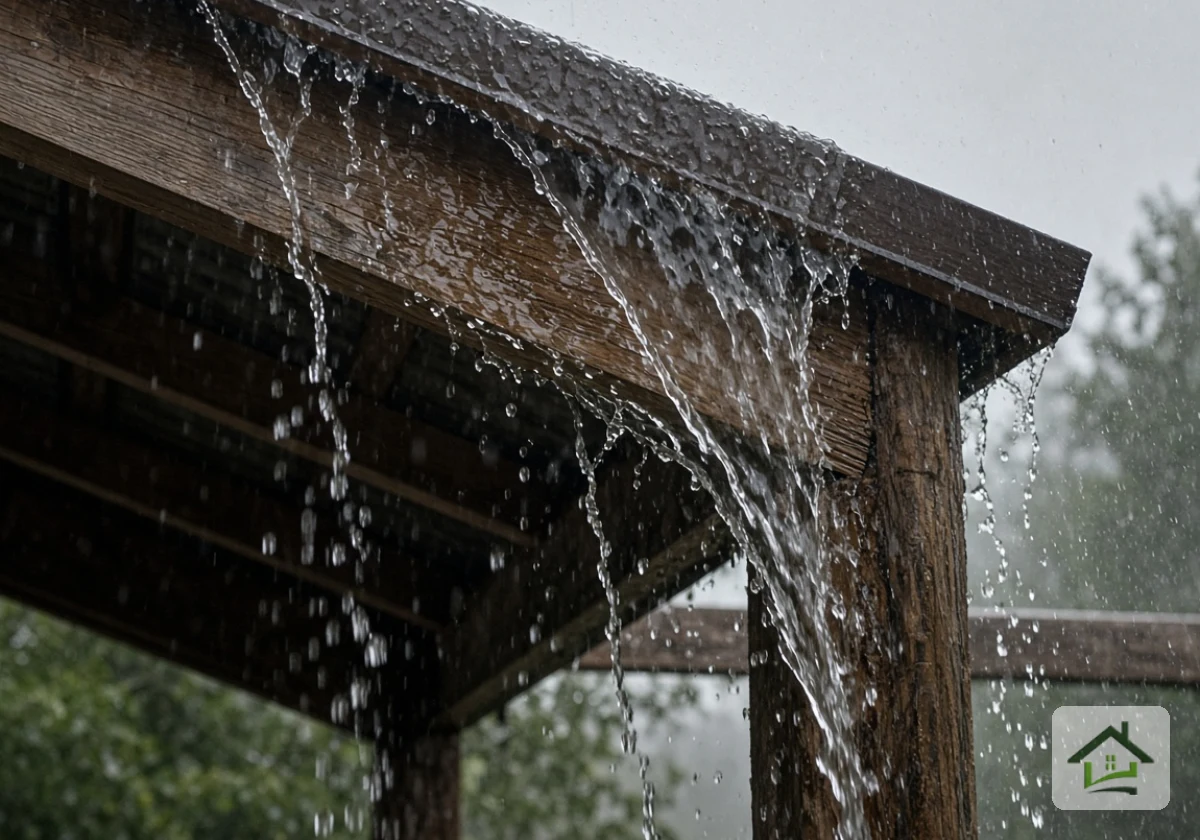
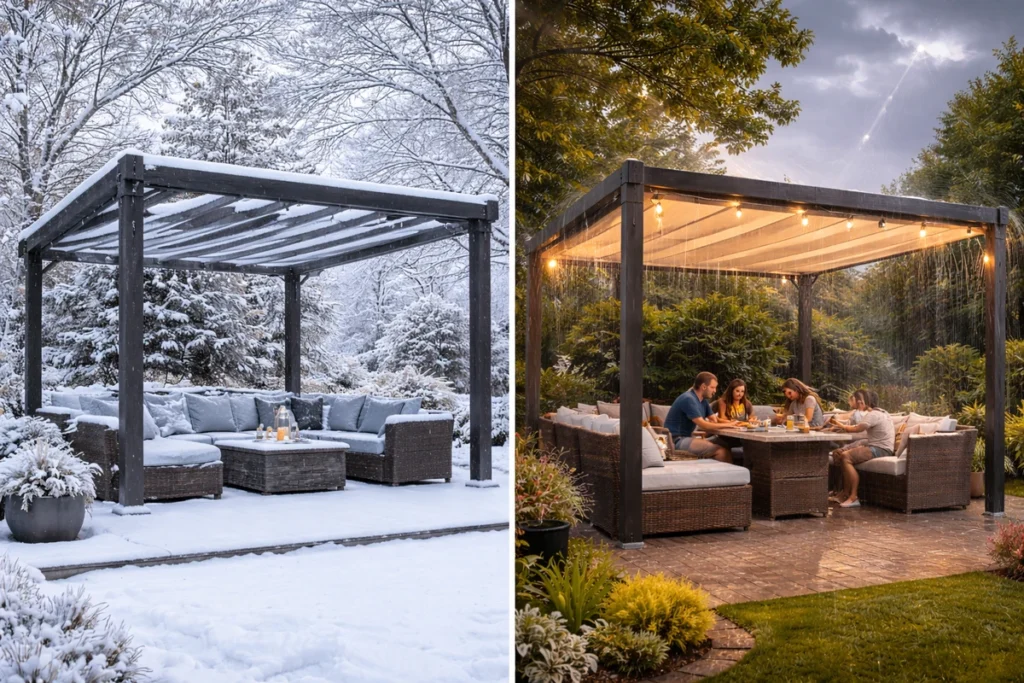
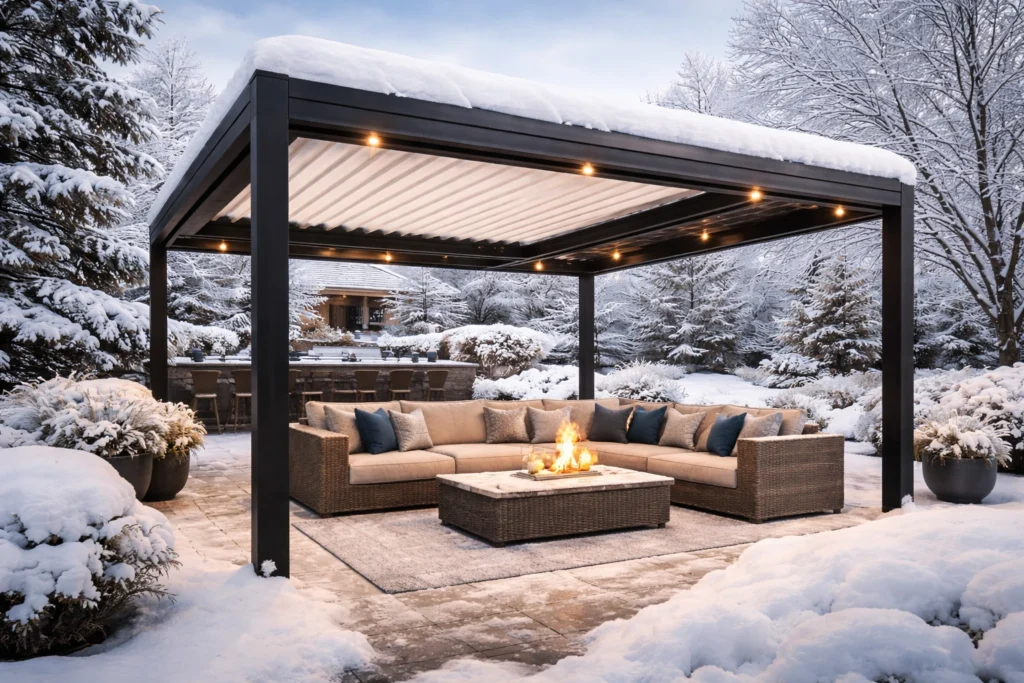
You handle pergola drainage by sloping the roof away from the house and catching runoff before it drips back toward the wall. An open slatted roof lets rain fall straight through, so drainage only becomes a design problem once you add solid panels.
That shift happens when you add a solid roof, patio cover, or adjustable roof with louvers. A roof with too little slope may hold water, which allows moisture to reach gaps and joints. During a Texas downpour, pooled water can reach the flashing and increase the risk of leaks.
For that reason, pitch the rafters gently downhill from the ledger toward the outer beam. The outer post line, rather than your wall, then carries the runoff down to the ground. Keep each post base slightly above grade so water drains off instead of soaking the wood.
A few small roof details help direct rain away from the wall and prevent leaks around the connection. Check these five points before you finish the installation:
- Rafter Slope: A slight slope away from the ledger directs water towards the outer beam. Check the angle with a level before you install the panels.
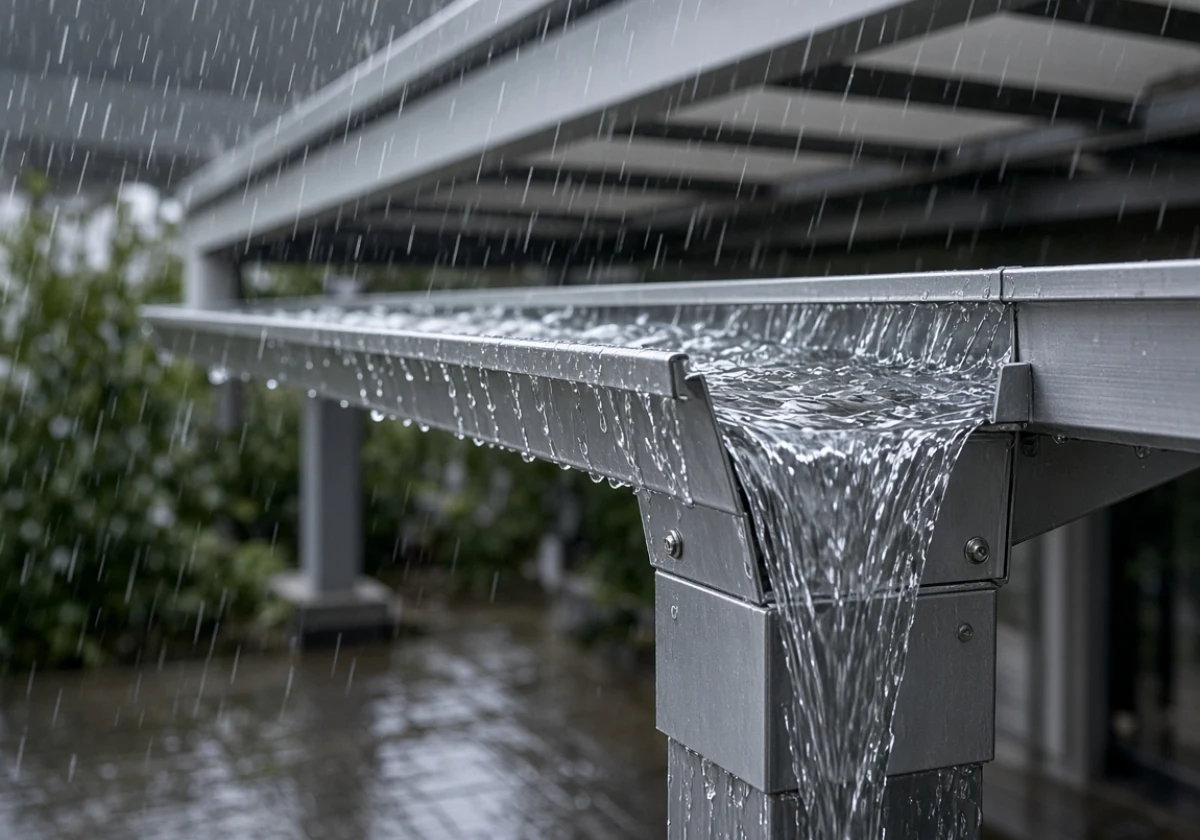
- Outer Gutter: Along the outer beam, a gutter collects runoff before it reaches the ground. Fit a downspout that carries water away from the foundation.
- Pilot Hole Sealing: Apply exterior sealant inside every pilot hole before inserting the fasteners. This helps prevent water from entering through the fixing points.
- Panel Expansion Gaps: Small gaps between roof panels allow room for temperature changes. Tight gaps can cause expanding panels to buckle or press against nearby joints.
- Drip Edges: Fit drip edges along the panel ends to guide runoff away from the structure. They also help stop water from travelling back underneath the panels.
After the first heavy rain, inspect the roof and trace any leaks to their source. Water near the wall calls for a closer look at the flashing and ledger connection. Puddles along the outer beam suggest poor gutter drainage or an incorrect slope.
We recommend you to check the panel joints and drip edges as well, since water can travel along these points before reaching the siding. A quick inspection after heavy rain helps you spot gaps early and fix them before repeated exposure damages the wall or roof framing.
Attached vs. Freestanding Pergolas: Which Suits Your Home?
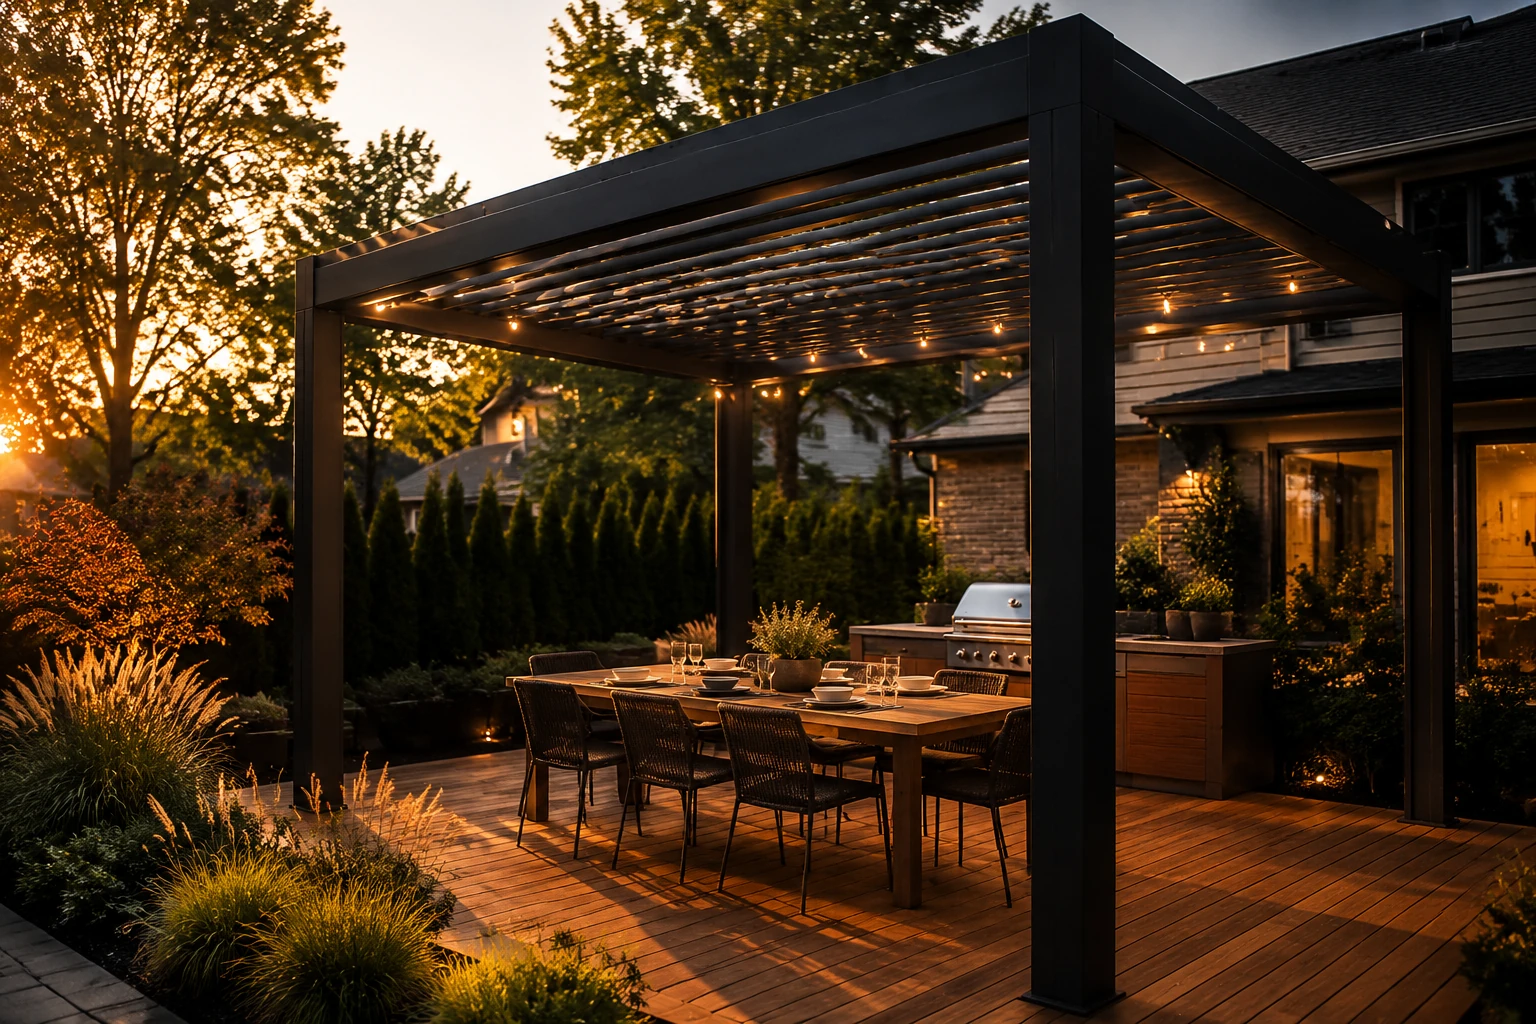
Once the wall connection and drainage are settled, the bigger question is whether attaching makes sense for your yard at all. An attached pergola shares the house wall, while a freestanding pergola stands on its own posts anywhere in the outdoor space.
To decide between attached and freestanding designs, compare the factors below. Each row shows what the choice means for your yard and your shade options:
| Factor | Attached | Freestanding | What It Means for You |
|---|---|---|---|
| Support | House wall plus two posts | Four or more posts | Attached needs sound wall framing; freestanding needs a solid pergola base at every post |
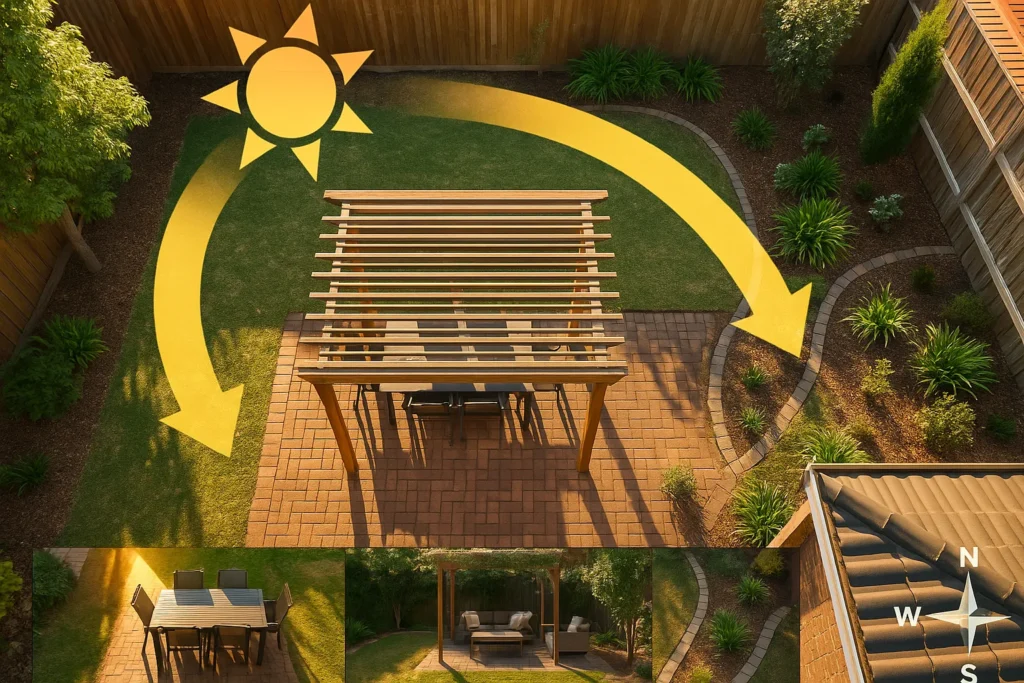
| Pergola shade | Covers the door and patio edge | Covers wherever you place it | Pick based on where you sit most in the afternoon |
| Installation work | Ledger, flashing, and drainage planning | Footings, posts, beams, bracing, and structural connections | Attached takes more care at the wall |
| Permits | Often required because it ties into the house | Sometimes required, depending on size | Call your local building office first |
The support row often decides it. If your wall framing can’t take a ledger, go freestanding and skip the flashing work entirely.
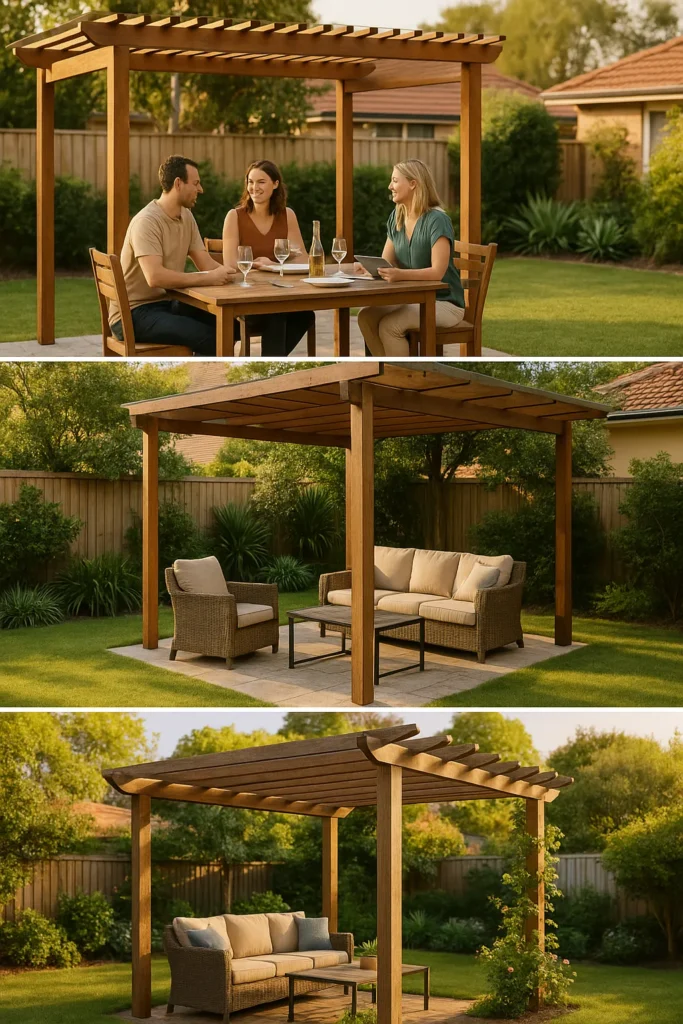
Attaching suits a dining area right off the kitchen, since the shade starts at the back door. A front porch pergola follows the same logic, while freestanding wooden or solid-roof pergolas suit fire pits and pool corners (and well away from any siding or flashing).
Plan the Wall Connection First and the Rest of the Pergola Follows
A pergola attached to your house only lasts as long as its wall connection. Solid framing, the right fasteners, flashing, and a clear drainage path protect both the frame and your home.
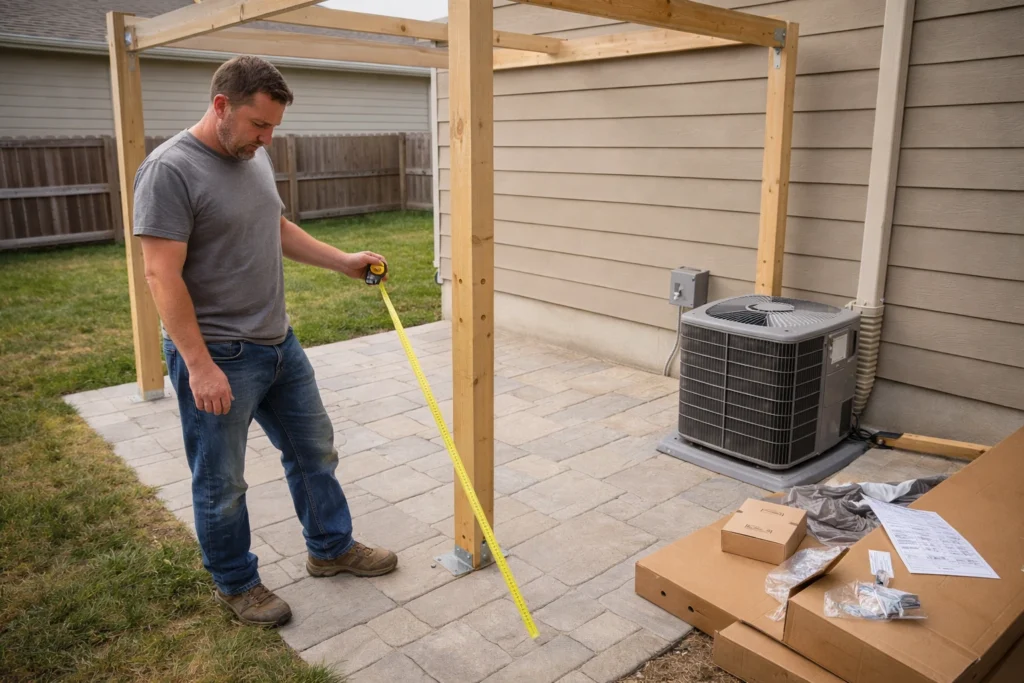
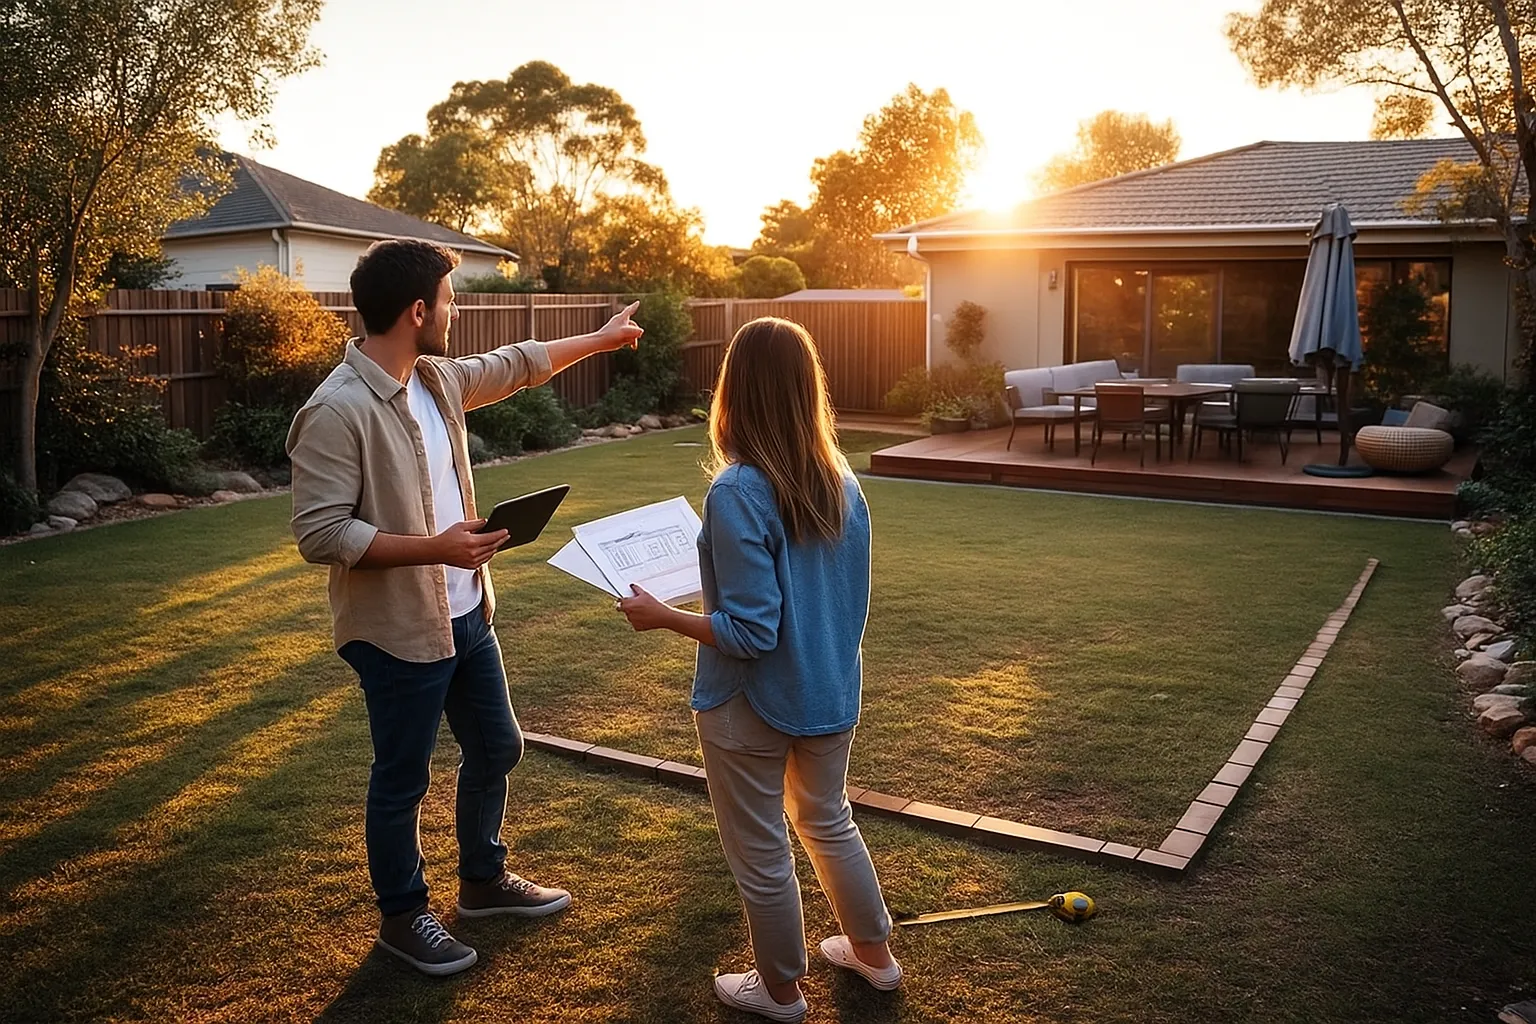
Measure your wall, door, and eave first, then sketch the ledger before browsing pergola designs. Those numbers narrow your options fast and make every later choice for your outdoor living area easier.
Paper Crown Gallery shares pergola ideas and design guidance for homeowners planning outdoor living upgrades. Contact us for help thinking through your layout and your wall connection before the first bolt goes in.
Frequently Asked Questions About Attaching a Pergola to Your House
A few practical questions usually remain about adding an attached pergola. Most of them come up after you’ve picked a pergola design and before the first hole gets drilled.
If you’re interested in the most common sticking points, have a look at the answers below:
Do I Need a Permit for a Wooden Pergola?
Building permits are often required because the frame ties into the house structure. Your local building office can tell you which building codes apply and what drawings it wants. Bring a simple sketch showing ledger height, fastener type, and post locations.
Can a DIY Pergola Kit Work?
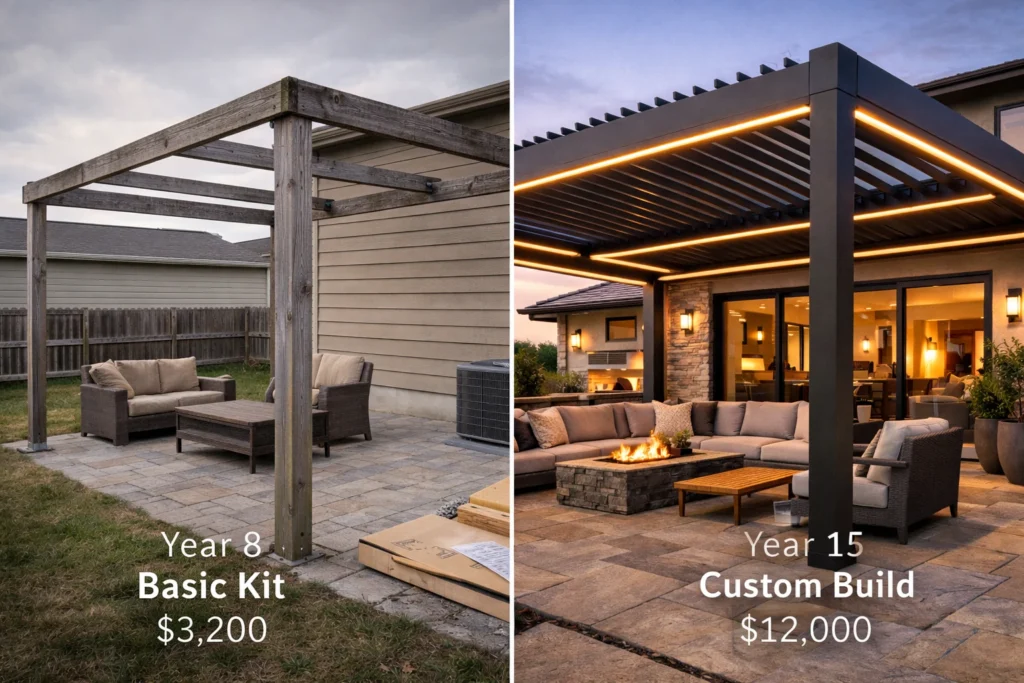
Yes, many kits come in standard sizes with ledger hardware included. A DIY pergola still needs the same flashing and framing checks as a custom build. Confirm the kit’s fasteners suit your wall before you buy, or budget for professional installation if they don’t.
Will Vinyl Siding Be a Problem?
Vinyl panels expand and shrink with temperature, so the ledger can’t clamp them tight. Installers usually remove or trim siding around the ledger and add suitable flashing while allowing the remaining panels to expand. Ask how your installer plans to trim the siding before work starts.