A pergola can sit neatly inside your patio lines and still block a door, trap a window, or crowd a dryer vent. Good pergola installation maps everything that opens, swings, or vents along the house before anyone measures the slab.
That order comes first because kit sizes assume a flat, empty footprint, and your back wall rarely looks like that. A post placed a foot too close to a doorway or a beam installed too low can make everyday access difficult.
This pergola installation guide covers door arcs, window sashes, gutters, and post spots. It then weighs freestanding against attached layouts, and kits against custom options on a tight site. Let’s start with the doors.
Pergola Installation Starts With Door Swings, Not the Patio Edges
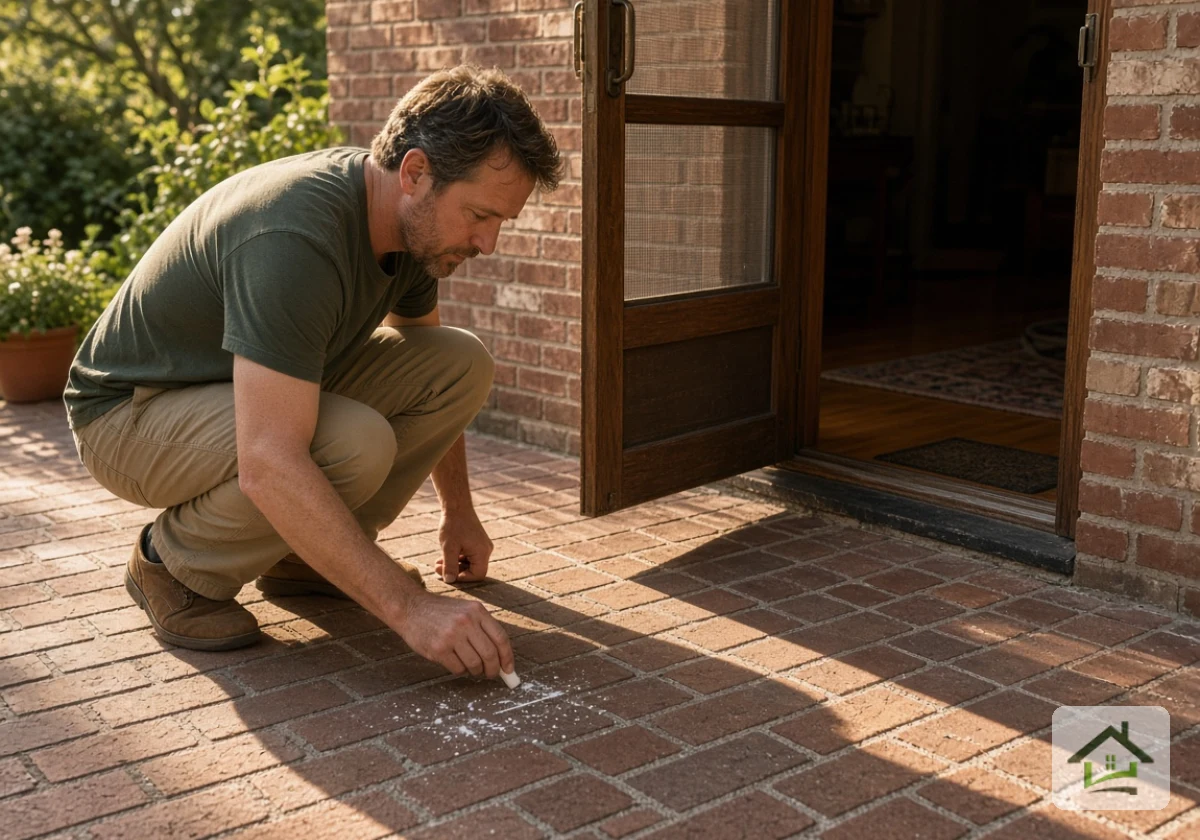
Pergola placement depends on what the house wall already holds. Every door, window, vent, and spigot on that wall sets a limit on the new outdoor structure. Below, we’ve explained the four checks to run before you mark a single post hole.
Outward-Swinging Doors Need Their Full Arc Clear
Clearing the threshold only proves you can step through a door. Screen doors, storm doors, and French doors that swing outward also need their whole arc free of posts and planters.
To see how much room they need, open each door all the way and trace its arc on the patio with chalk. Leave extra room beyond the handle so people can open the door comfortably.
This chalk line will become your no-post zone and your own guide to pergola placement. Keep it marked until the posts are set (a garden hose is a good idea if rain washes chalk away).
Do Your Windows Open Outward Into the New Roof Line?
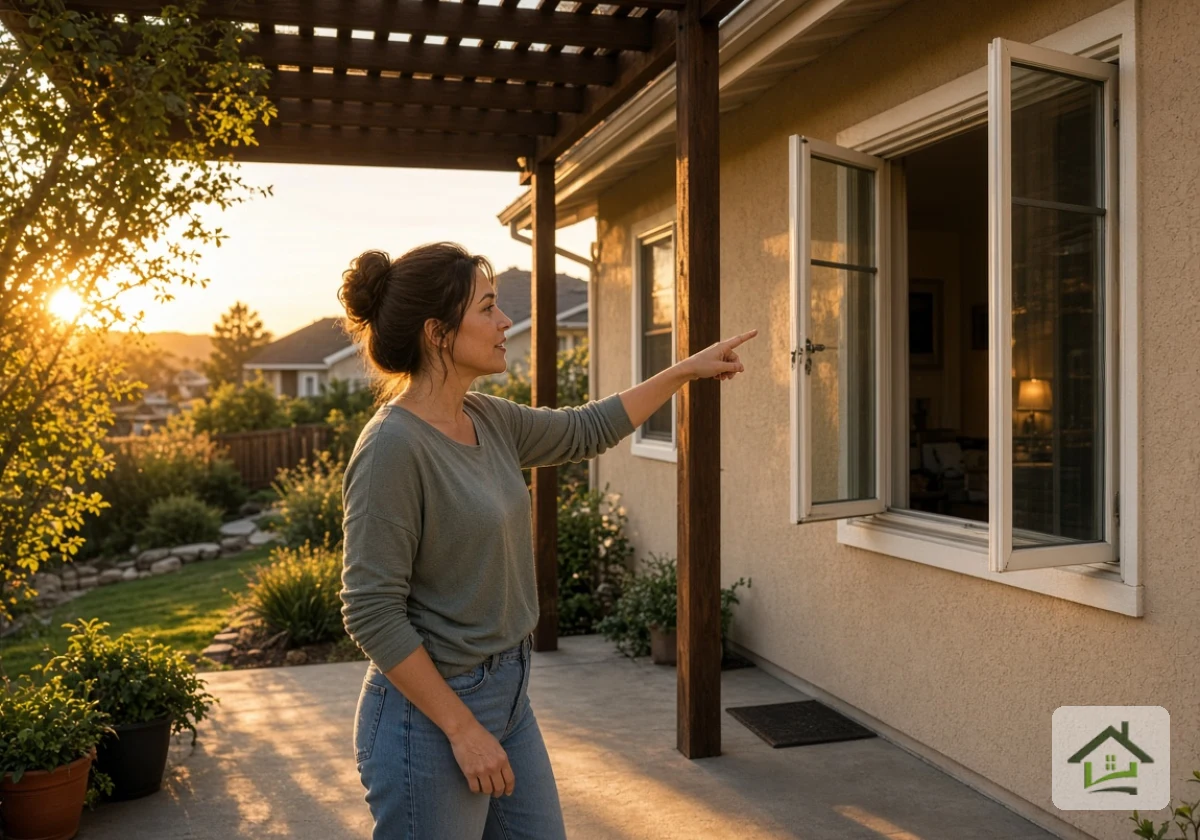
Casement and awning windows often open outward, and a low beam or rafter can stop the sash halfway. Check every window on the wall before you settle on a height, starting with the kitchen window you crack open on summer evenings.
Specifically, open each sash fully and measure from the patio to its highest point. Your beams and rafters need to sit above that mark.
Use those measurements to check the proposed roof height. If the numbers clash, shift the roof line sideways or pull the whole frame away from the wall.
Gutters, Eaves, and Other Overhead Obstacles Above the Beam
Gutters, fascia boards, and eaves decide how high an attached pergola can sit. A ledger board (the beam bolted to the house) needs solid framing behind it, and gutters hang there.
Look up before you measure out, and note downspouts, other drainage features, light fixtures, and service lines. That said, you may need to move some obstacles if the pergola can’t fit around them. Electrical fixtures and wiring require a licensed electrician, so arrange any necessary work before installation begins.
Where the Posts Land on Walkways, Hose Bibs, and Dryer Vents
After checking the roof connection, return to ground level and confirm where the posts will stand. A suitable overhead position won’t help if a post blocks a walkway, hose bib, or dryer vent.
Dryer vents need particular attention because blocked exhaust outlets can restrict airflow. To give you an idea, InterNACHI’s dryer vent guidance states exhaust ducts must end at least three feet from openings into buildings.
Treat that three-foot spacing as your starting gap for posts and privacy panels near the vent. Lint and moist air then keep a clear path out.
Apart from the vent, leave room to turn the spigot handle and coil a hose. Posts jammed against the bib make every watering trip awkward.
Does an Attached or Freestanding Pergola Kit Clear More Openings?
A freestanding pergola usually offers more flexibility around wall openings because its roof doesn’t need to attach to the house. On the other hand, an attached pergola uses the house for support, saving two posts and some patio space. However, its position depends on the doors, windows, and gutters along that wall.
To compare pergola layouts against your own house, use the table below.
| Opening | Attached layout | Freestanding layout | What to check |
|---|---|---|---|
| Outward doors | Posts often sit near the door line | Posts sit out on the patio | Trace the door arc before ordering |
| Casement windows | Ledger and rafters can block the sash | Roof stays clear of the wall | Measure sash height fully open |
| Gutters and eaves | Ledger must fit below the gutter | No contact with the roof edge | Confirm framing behind the fascia |
| Vents and spigots | Wall-side posts crowd them | More freedom to shift posts | Keep the three-foot vent gap |
For homes with outward-opening casement windows, the window clearance may decide which layout works. If the proposed ledger or rafters would block the sash, a freestanding pergola will give you room to move the roof away. Either way, check the new post positions against your patio space before making the final choice.
Foundations First: Anchoring Posts Before Aluminum Pergola Assembly Begins
Once your post spots dodge every door and vent, the ground under them needs attention. Generally, an aluminum pergola weighs less than a wood pergola, but they still need secure anchoring to resist wind uplift and movement.
Before any shovel goes in, find out where underground utility lines run. Not to mention, PHMSA’s (Pipeline and Hazardous Materials Safety Administration) Call Before You Dig program notes that all states run one-call centers and legally require you to call 48 to 72 hours before digging.
Contact 811 before excavation and follow your state’s notice period, which varies by location. Making that call will get you gas, water, and cable lines marked, and they may run right where a footing wants to go.
From there, check with your local authority about permits. Many towns review footing depth and setbacks. Think about site access too. Concrete and long beams have to reach the back patio. The prepared base you build now sets how level the frame stays for years.
Run through these before kit assembly starts:
- Utility Marks: Wait for utility operators to mark underground lines before digging. Keep excavation clear of marked services and follow local rules for working nearby. If a proposed footing overlaps a utility route, arrange a safe alternative location.
- Permits: Ask your local building department if the pergola needs approval. Some areas require drawings showing post spacing, footing dimensions, and property setbacks. Confirm those requirements before ordering materials that may need changing.
- Footings: Footing size and depth depend on soil conditions, frost depth, and structural loads. A foundation designed for your site helps resist movement and wind uplift. Follow the kit manufacturer’s specifications for concrete footings or approved anchors.
- Slab Check: An existing patio slab isn’t automatically suitable for pergola anchors. Check its thickness, condition, and reinforcement before drilling. Cracks, weak concrete, or insufficient depth mean you need separate footings beneath the posts.
- Level Bases: Mark the post positions using the kit’s dimensions, then check the diagonals to confirm the layout is square. Set each base at the required elevation and alignment. Correcting uneven bases now prevents problems when fitting beams and roof components.
Here, you should pay particular attention to the slab and footing requirements before fixing any post bases. A patio built for outdoor furniture may lack the strength needed for structural anchors. Once the foundations are approved and the bases align, the frame is ready for assembly.
Kit Instructions vs Professional Help: When a Tight Wall Needs Custom Pergola Design
Pergola kits come in standard sizes, and their assembly instructions specify where the posts should go. On a cramped wall full of doors and windows, those fixed positions don’t always leave enough clearance.
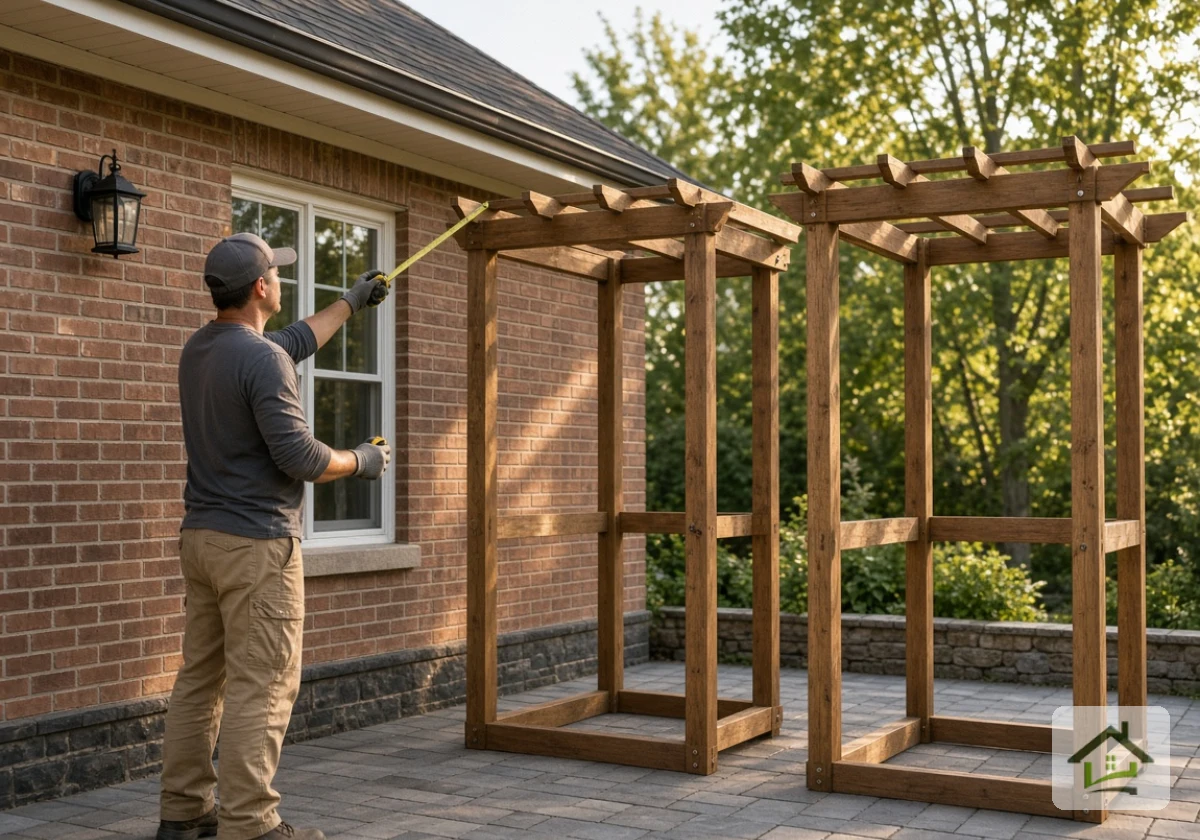
That’s why a tight site pushes you to weigh flexibility against convenience. Luckily, going with a DIY pergola kit gives you clear steps, pre-cut parts, and full control over timing. With the right tools and a helper, you’ll know within an afternoon of dry-fitting whether the posts clash with a door arc (dry-fitting on the patio saves a second trip to the store).
Problems arise when the kit’s dimensions don’t match the available space. Custom pergola design allows for different post positions, beam heights, and spans, provided the structure supports those changes. For example, a shorter span might move a post clear of a door, but the revised layout still needs suitable structural support.
If you plan to build the pergola yourself, read the full instructions against your chalk marks first. The DIY vs professional choice usually comes down to how many clashes you find. When they stack up, a professional team can reset posts and trim spans, which can cost less than reordering parts.
Measure the Swing, Then Order Your Patio Pergola
A patio pergola earns its place when every door, window, and vent around it still works the way it did before. Plan around those openings first, and the patio edges will take care of themselves.
So grab the chalk, open every door and sash, and mark your clear zones this weekend. Then compare those marks with the kit drawing before you spend anything.
Have questions about how a pergola will sit against your own wall? Contact Paper Crown Gallery with your measurements and plan your pergola with fewer surprises.